
Quickstart (5 min)
Time: 2–5 minutes · Result: your bot answers a real question in your community.
If you prefer a broader intro first, see the Overview.
For deeper theory later, jump to Core Concepts.
1) Sign in
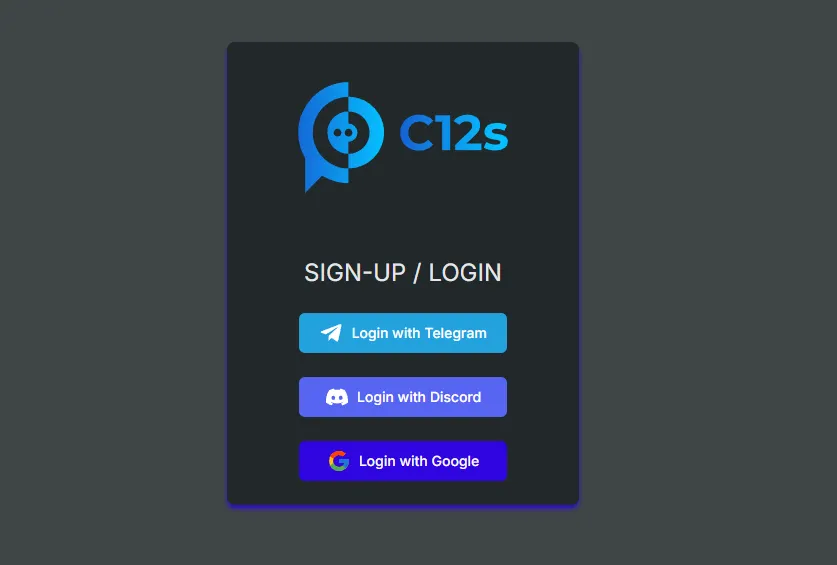
Section titled “1) Sign in”Sign in at app.c12s.ai with Google, Discord, or Telegram.
We only use trusted OAuth providers—no passwords to reduce credential risk.
Invited by a teammate? If you haven’t used C12s before, you’ll create an account and a default org (e.g., “Your Name’s Team”). After you accept the invite, you may see two organizations. Use the org switcher (top-right) to select the correct one and rename/leave the extra later (see step 2).
2) Name your organization
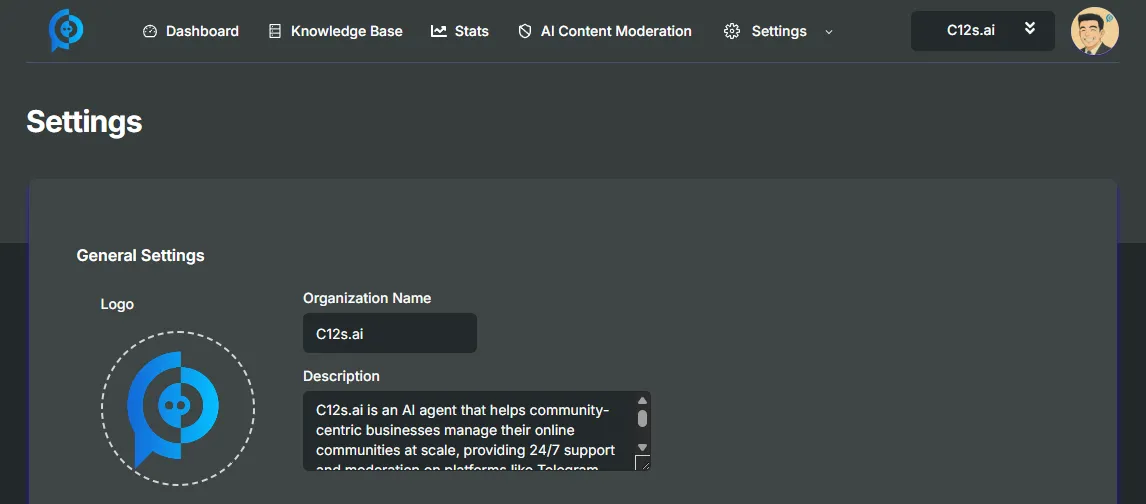
Section titled “2) Name your organization”Go to Settings → General and:
- Rename your org to your company/brand.
- Add a short description (1–2 paragraphs).
- (Optional) Upload a logo.
Tip: Clear names reduce confusion when you belong to multiple orgs.
3) Connect your first community
Section titled “3) Connect your first community”On Settings → Integrations, click Connect and pick a platform.

You’ll see a verification prompt like:
/verify <code>- Add the C12s bot to your community.
- Within the community’s chat, paste the /verify command with your code.
- Return to C12s — your community will appear as connected.
Permissions checklist (minimum): the bot must read messages and send messages in channels you want it to operate in. For Discord, ensure Read Message History is allowed. If you wish to use Moderation features, ensure the relevant permissions are given as well.
4) Choose the bot’s behavior
Section titled “4) Choose the bot’s behavior”In Settings → AI Configuration:
-
Personality: pick a preset (e.g., Short & Friendly), or create a Custom one.
-
Read / Write / Learn:
- Read → allow the bot to read all messages by default (you can hide private/sensitive channels in the Overrides section).
- Write →
- Passive (default for free orgs): replies only when explicitly prompted (@tagged or /ask).
- Active (recommended for paid orgs): answers automatically when a relevant Knowledge Entry is found.
- Learn → auto-learn from staff replies (toggle as desired).

Discord/Slack channel overrides: use Overrides to fine-tune Read/Write/Learn per channel (handy for announcements or private areas).
5) Seed your Knowledge Base
Section titled “5) Seed your Knowledge Base”Go to Knowledge Base and start with either path:
A. Create manual entries (fastest)
- Click + Knowledge → write a concise Answer for one topic (pricing, access, roadmap, troubleshooting, policies, etc.).
- Add a few Questions that users might ask regarding this piece of Knowledge (suggestion: use Generate Questions to get automatically get a list of questions you can edit).
Tip See Core Concepts - Knowledge Entry for a full explanation of all fields.
B. Import sources
- Add a URL to ingest product pages, docs, or PDFs. The process usually takes less than a minute to complete.
- (Paid) Web search with whitelisted domains lets you reference a whole site (e.g., your docs/blog) without importing every page individually.
Starter set: 10–20 topics that cover 80% of common questions is ideal for a first pass.
6) Sanity-check with Semantic Search
Section titled “6) Sanity-check with Semantic Search”Still on Knowledge Base, type a typical user question in the Search bar and click the ✨ button.
- If you see a match with a high similarity score (≈ 70%+), the bot would use that source to answer in your community.
- No match? Add/adjust the entry’s Questions (phrasing matters for recall); too short questions will likely trigger more often (may increase false triggers), while too long ones will likely trigger less often (may miss relevant questions that could’ve been answered otherwise).
7) Ask it live
Section titled “7) Ask it live”Go to your connected community and ask the same question.
- In Passive write mode: explicitly prompt the bot (e.g., mention it or use your bot’s /ask command); if no match is found, it will reply with a canned message that it doesn’t know the answer.
- In Active write mode: it will answer users (not staff!) automatically when a relevant Knowledge Entry is found, and ignore (& log internally) otherwise.
If it doesn’t answer, see Troubleshooting.
Note: community admins always need to explicitly prompt the bot, to avoid accidentally interrupting staff conversations.
Done! What next?
Section titled “Done! What next?”- Tune moderation & safety → Spam & policy actions
- Add more knowledge (weekly) to improve coverage, and review the Unanswered Questions.
- Review analytics after a few days to find hot topics → Dashboards
- Connect more communities or enable Active mode (paid) for hands-off answers.
Common pitfalls & quick fixes
Section titled “Common pitfalls & quick fixes”- Two organizations: use the org switcher (top-right), rename clearly, and leave the extra if you joined an existing team.
- Verify not working: re-add the bot, then regenerate a new
/verify <code>and try again. - No answers: either Write is set to Passive and you didn’t explicitly prompt, or there’s no matching knowledge. Add an entry and re-test with ✨. Don’t forget that even in Active mode, the bot ignores messages from staff if not explicitly prompted.
- Permissions: the bot must read + send in the target channel/group; in Discord also enable Read Message History.
Need help?
Section titled “Need help?”- Troubleshooting → Guide
- FAQ → Answers
- Status → Live health
- Support → Contact us