
Install
1) Adding the C12s Bot to your server
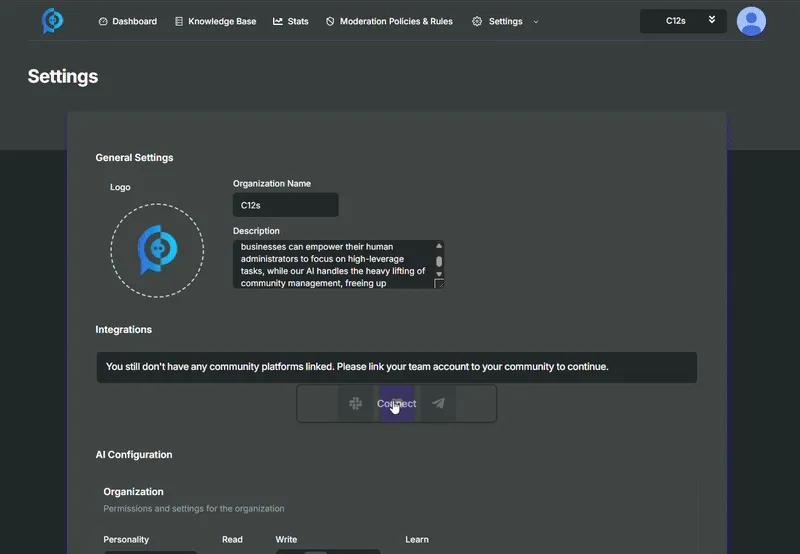
Section titled “1) Adding the C12s Bot to your server”To add the C12s bot to your server, you have two methods, via the C12s webapp hover over the connect button and select “Discord”, it will open a new prompt where you can click the “Invite Bot” and you will be directed to the Discord invite page or press here to directly open the Discord invite page.

The second method is to have a common server with the C12s bot, open the C12s bot profile and press the “Add App” button to invite the bot to your server.

2) Making sure the bot has the correct permissions
Section titled “2) Making sure the bot has the correct permissions”After the bot is added to your server, you will need to make sure it has the correct permissions.
Go to the server settings, select the bot and make sure it has the following permissions:
| Name | Description |
|---|---|
View Channels | Core functionality needed for reading messages in the community. |
Manage Channels | Needed for creating channels or making changes to existing channels 1. |
Manage Roles | Needed for creating/managing roles (incl. assigning roles to users) 2. |
Manage Expressions | - |
View Audit Log | Needed for receiving key events from Discord and auditing purposes. |
View Server Insights | Needed for Analytics & Reporting 2. |
Manage Webhooks | Needed to send community-branded messages to certain channels (e.g. FAQs, Rules, Ticketing, etc.) 2. |
Manage Server | - |
Create Invite | Needed to create invites; we might use this upon a request for help from a customer. |
Change Nickname | - |
Manage Nicknames | Needed for moderation purposes (e.g. normalizing names) |
Kick, Approve and Reject Members | Needed for moderation |
Ban Members | Needed for moderation |
Time out members | Needed for moderation |
Send Messages and Create Posts | Core functionality needed for answering questions and creating threads |
Send Messages in Threads and Posts | Core functionality needed for answering questions and replying in threads |
Create Public Threads | Needed for creating threads (Write mode set to ‘Thread’) |
Create Private Threads | Needed for creating private “tickets” |
Embed Links | Needed for providing content in answers |
Attach Files | Not currently needed; we might use for citation purposes in the future 2 |
Add Reactions | Needed for providing feedback to users of what it’s currently doing in real-time |
Use External Emojis | We might create some custom emojies to use in answers and reactions in the future 2 |
User External Stickers | - |
Mention @everyone, @here and All Roles | Needed for tagging certain roles (e.g. alerts to admins, mods, etc.) |
Manage Messages | Needed for moderation (e.g. deleting messages such as spam, scams, etc.) |
Manage Threads and Posts | Needed for archiving threads, closing ‘tickets’, etc. |
Read Message History | Core functionality for answering questions |
Connect | - |
Speak | - |
Mute Members | - |
Deafen Members | - |
Move Members | - |
Manage Events | - |
Note When you add the bot to your Discord community it’ll create the role with all the necessary permissions.
3) Linking the Discord Bot to your C12s Organization
Section titled “3) Linking the Discord Bot to your C12s Organization”To link the bot to your C12s Organization, you need to go to the C12s webapp, head over to the “Settings” page, hover your mouse over the connect button and select “Discord”.
After selecting Discord you should see a verification code such as:
/verify bdhujgbYou will need to copy the code, go over to Discord and access a channel that the bot has access to and type /verify, you will see an empty box where you will insert the code.

After pasting or typing the code, the bot should appear as connected in the C12s webapp.
Need help?
Section titled “Need help?”- Troubleshooting → Guide
- FAQ → Answers
- Status → Live health
- Support → Contact us
Footnotes